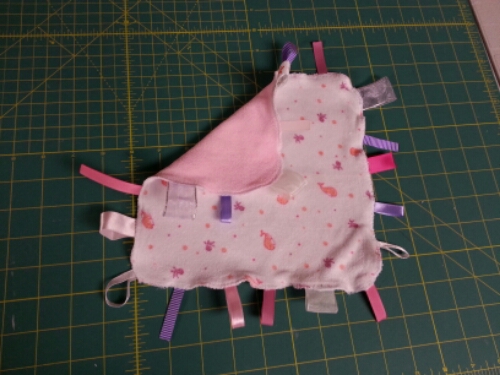
I made my daughter a blanket out of her receiving blankets when she outgrew her baby blankets. Partly because it’s cheap and partly to make sure it was made of cotton. And maybe a little because the baby blankets have sentimental value.
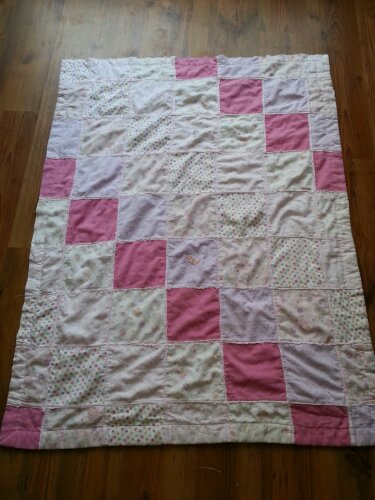
Now it was my son’s turn for a new blanket. It was long overdue. He’s still in the crib converted to a toddler bed but the crib sized blankets are a bit small and a twin blanket is too big. So I went right in the middle. I recycled his receiving blankets, too. I didn’t want to do squares cause it seemed like there was a lot of waste so I did strips.
First cut the blankets in strips and lay them out on the floor to figure out a pattern.
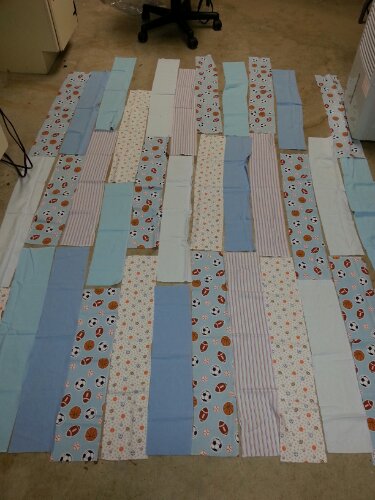
Then sew the short ends together first and the sew the long strips together.
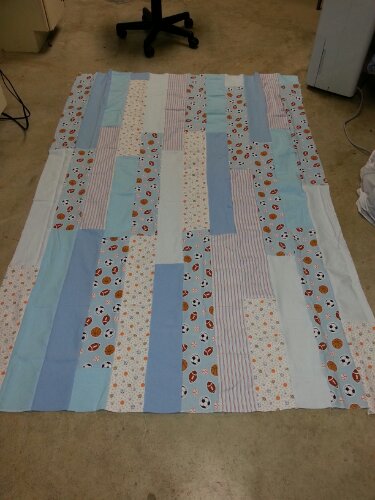
Flip it over and lay quilt batting on top.
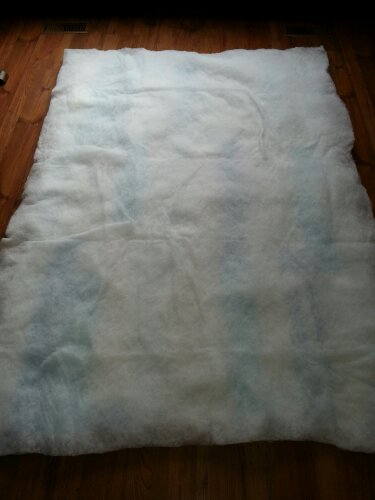
Trim the batting so it’s 2 inches bigger on all sides. Recycle a flat sheet and lay that on top. Carefully flip it right side up and straighten out one end and pin it in place. Make sure the sheet is a couple inches bigger all around because this will be the edge of the quilt. On the straightened and pinned end, put something heavy to keep it from shifting. I just used stuff from the pantry.
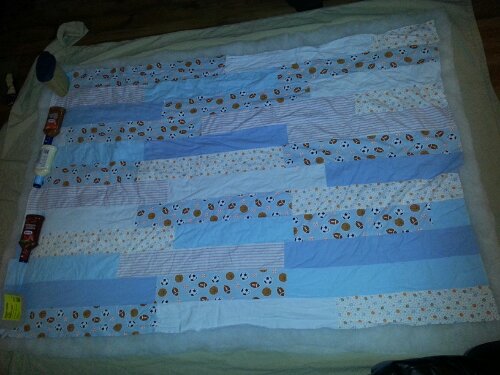
Carefully pin and straighten from one end to the other. Roll it up and move the weights as you go. Pull the bottom sheet straight every few inches. The weights help with keeping it from just all pulling towards you.
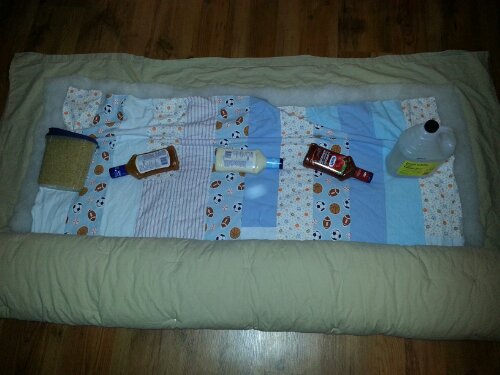
Take your time. The more even it is the better the end result. Unroll it and trim the edges even. I wanted a wide edge and you could always trim more off for a smaller edge.
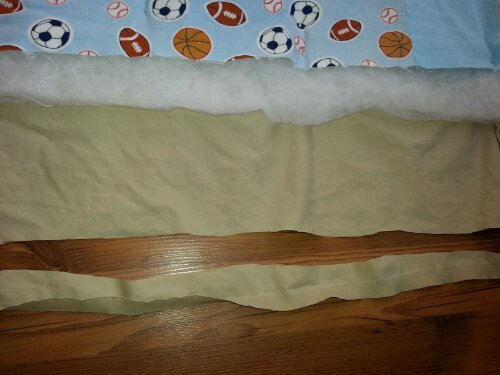
Fold it over…
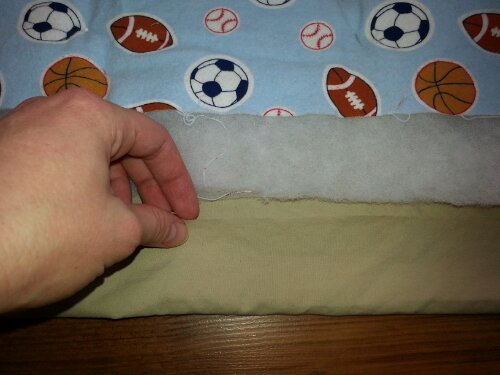
And fold it again and pin in place.
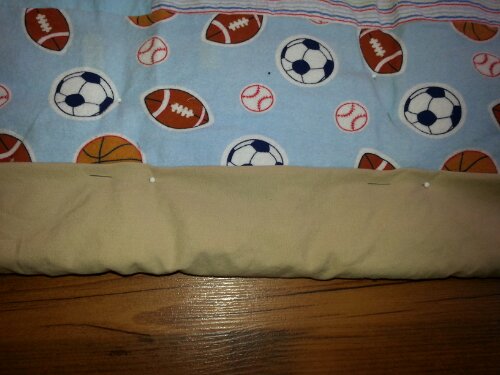
Do this all around and at the corners fold it like this…
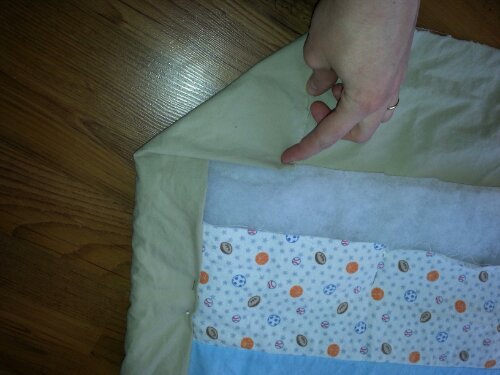
Sorry that’s upside down. And then like this…
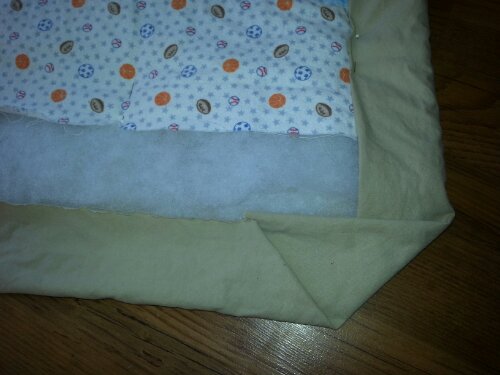
And then this…
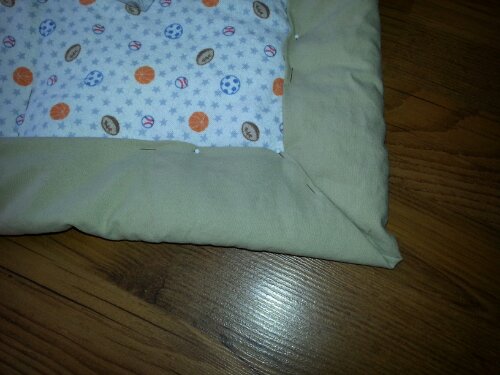
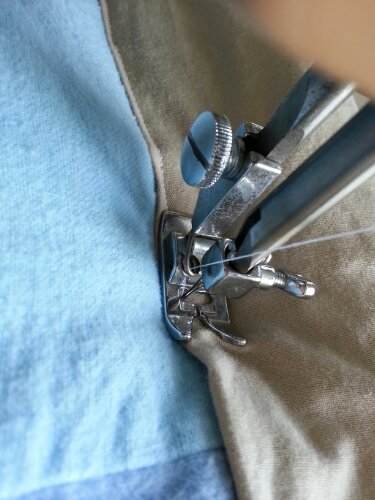
What a perfect corner! Ok so you may have to play with it a bit but it works. When it’s all pinned sew along the edge.
Then you can be done like it is but I would suggest sewing across some of the seams just to tack the batting in place. If you don’t it might shift around after multiple washes. And here it is!
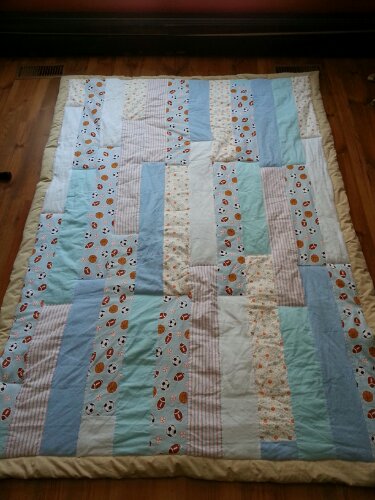
You can see I sewed along the short seams. That’s why it looks ‘dented’ in some places. Just one more piece of advice, because it spends a lot of time on the floor, do it in an area the kids don’t frequent. Otherwise you’ll here stuff like, “I don’t like this blanket. It’s pokey on my feet!” Just saying;-)
